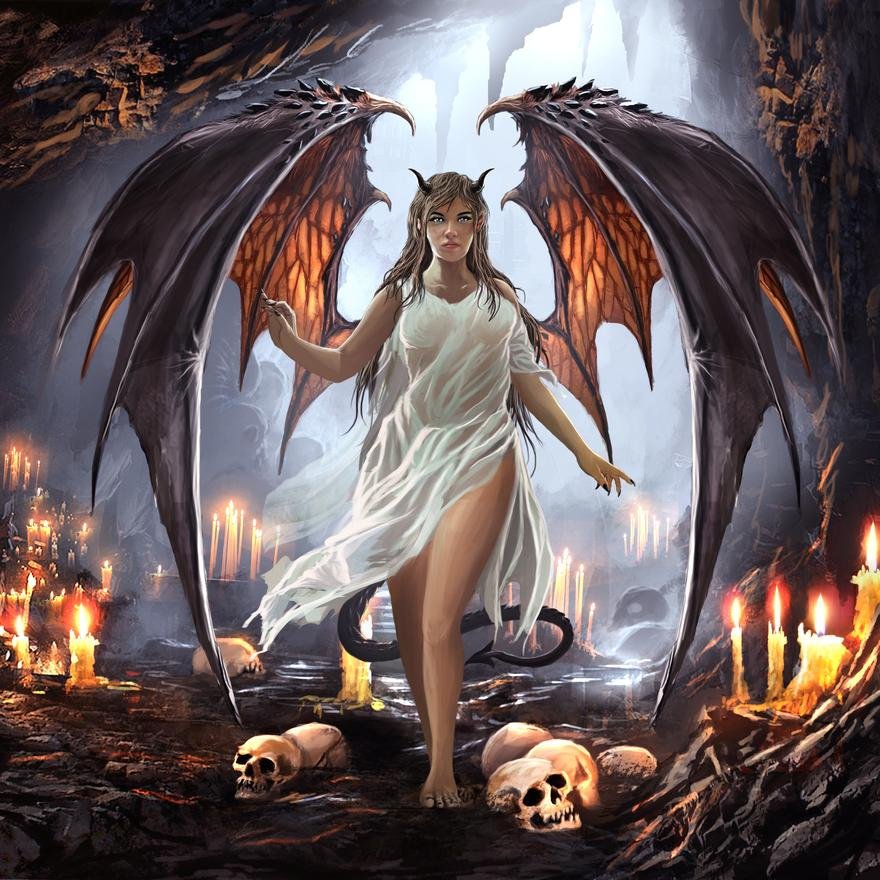
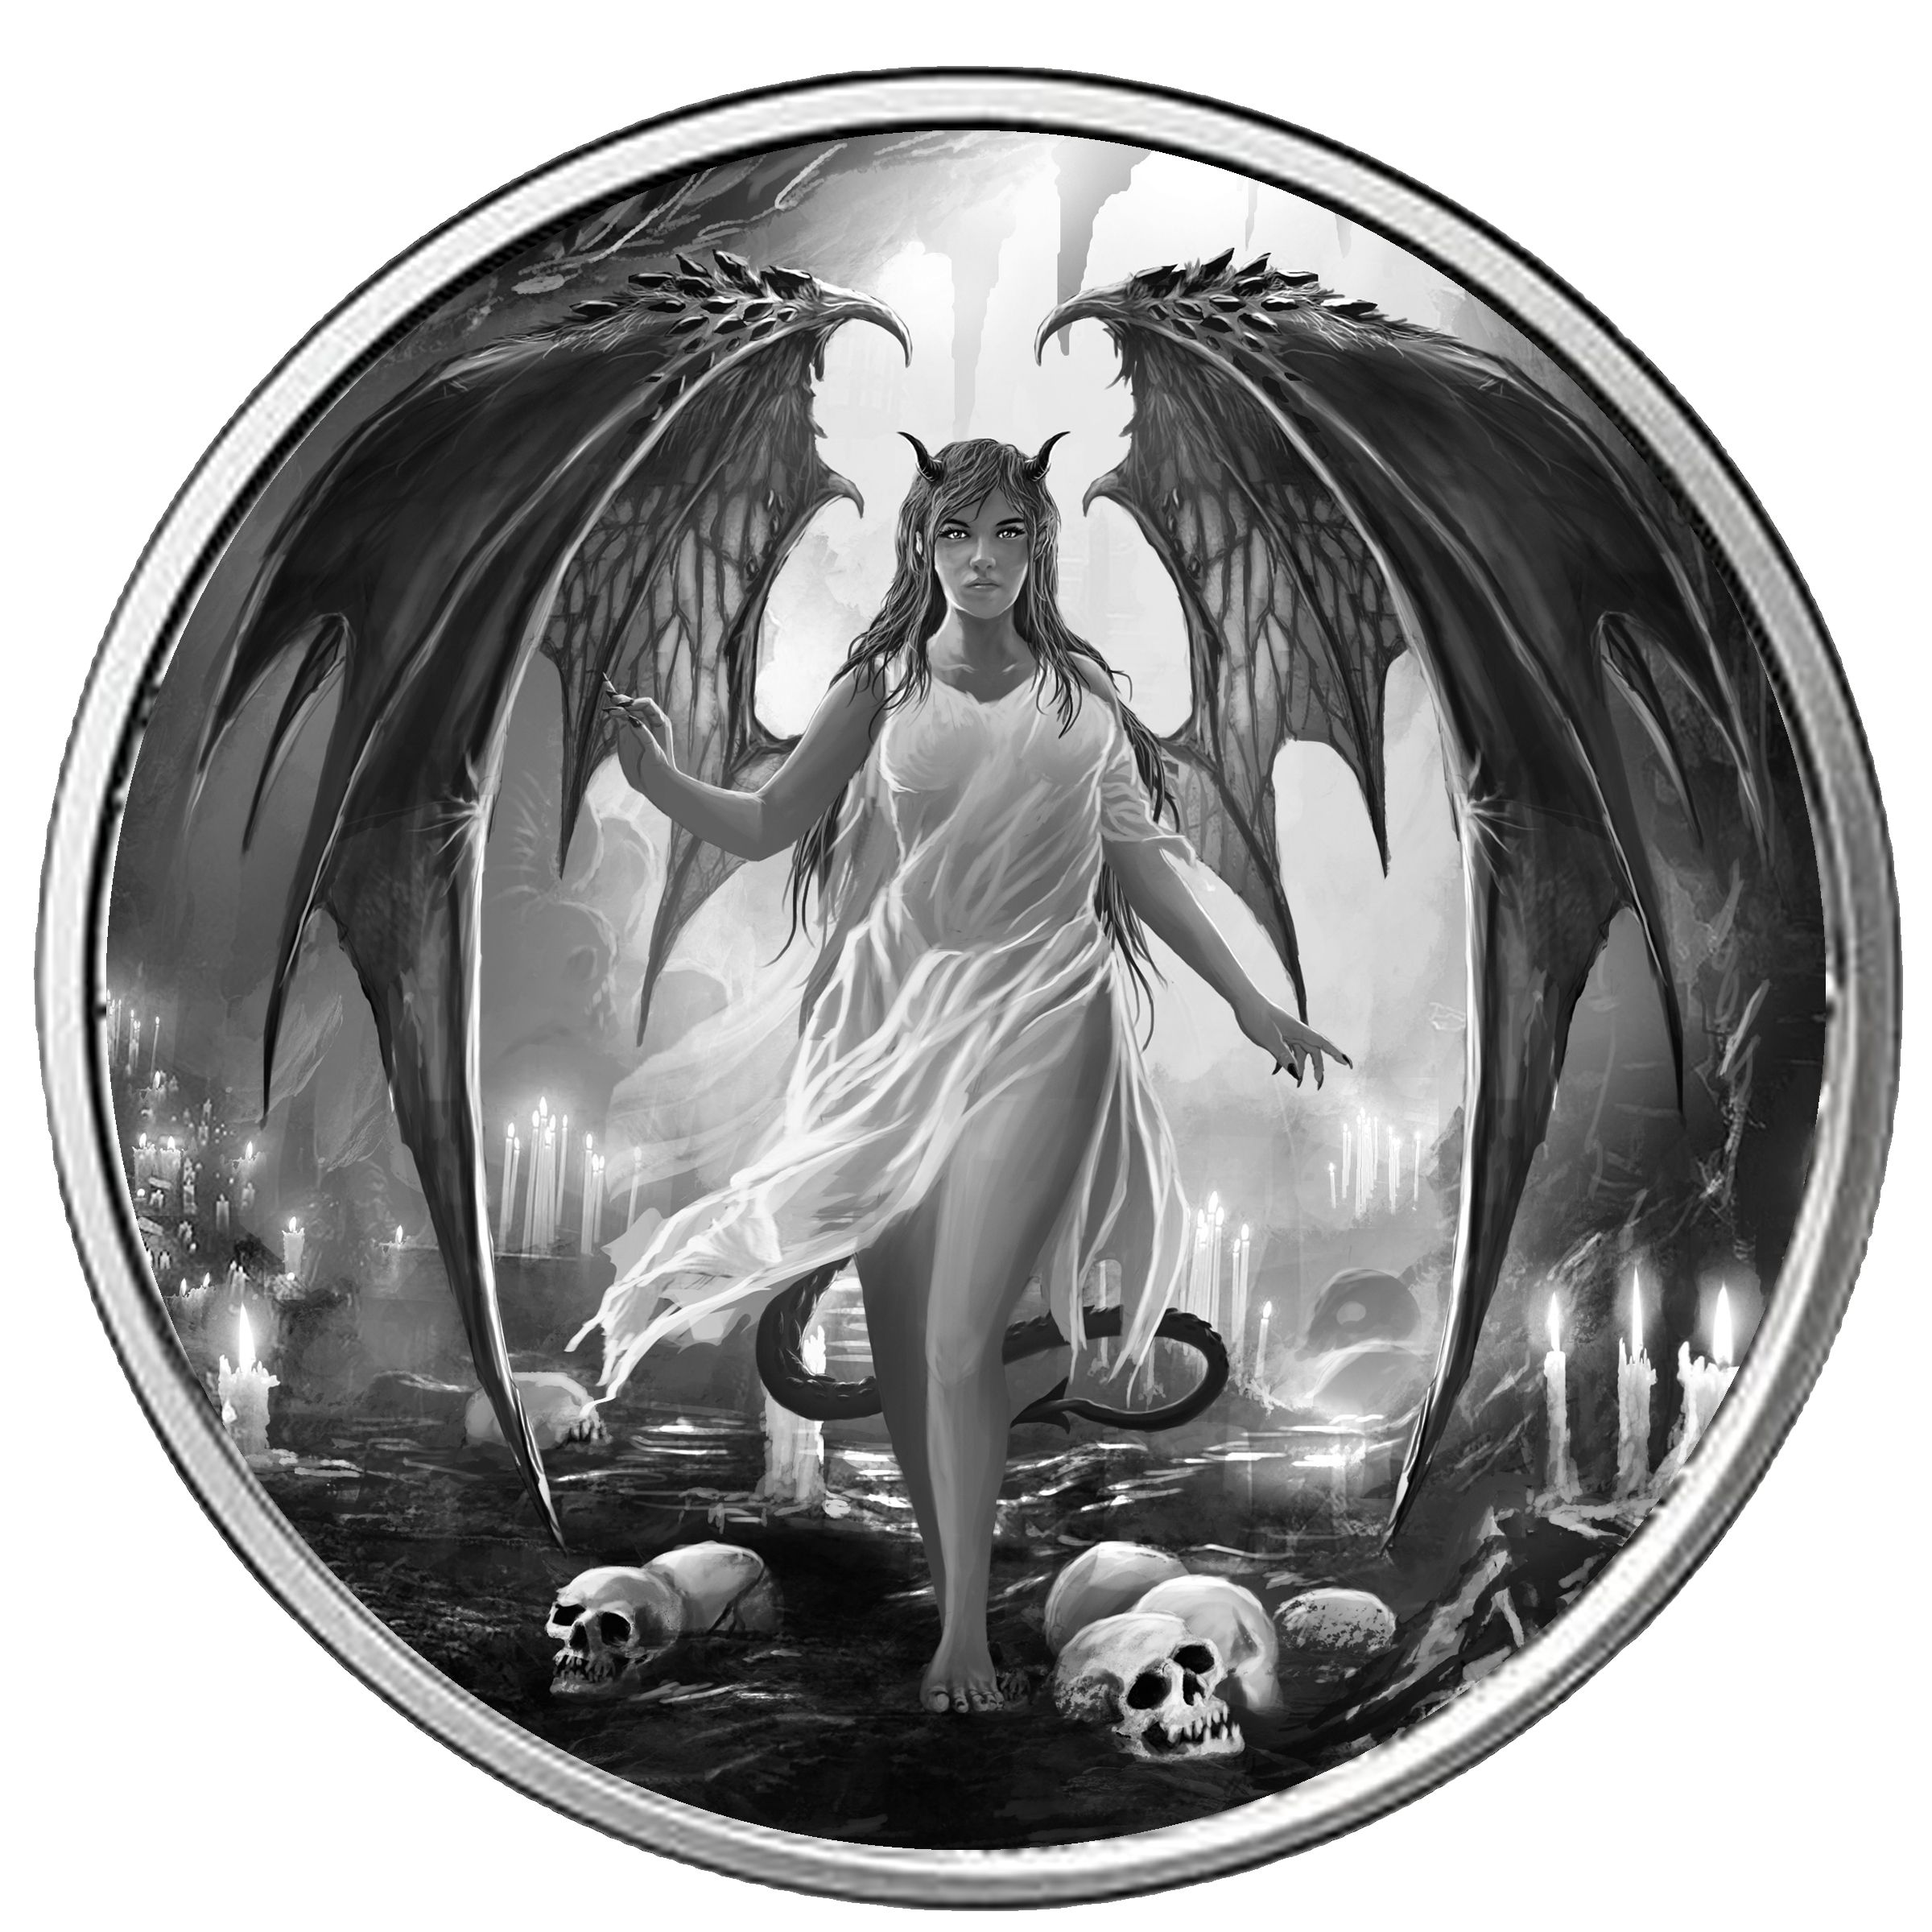
This is the original art we used for our 2016 Temptation of the Succubus Round. Of course you need the idea before the art. The art submission used mostly just needs to be high quality, full colour of black and white doesn't really matter. Of course if your working with a square art file you need to take into account the coin in round, so you'll either need to shrink the image or try to make sure it respects circle dimensions. It's quick to double check by just putting it in a circle or creating the art within a circle.
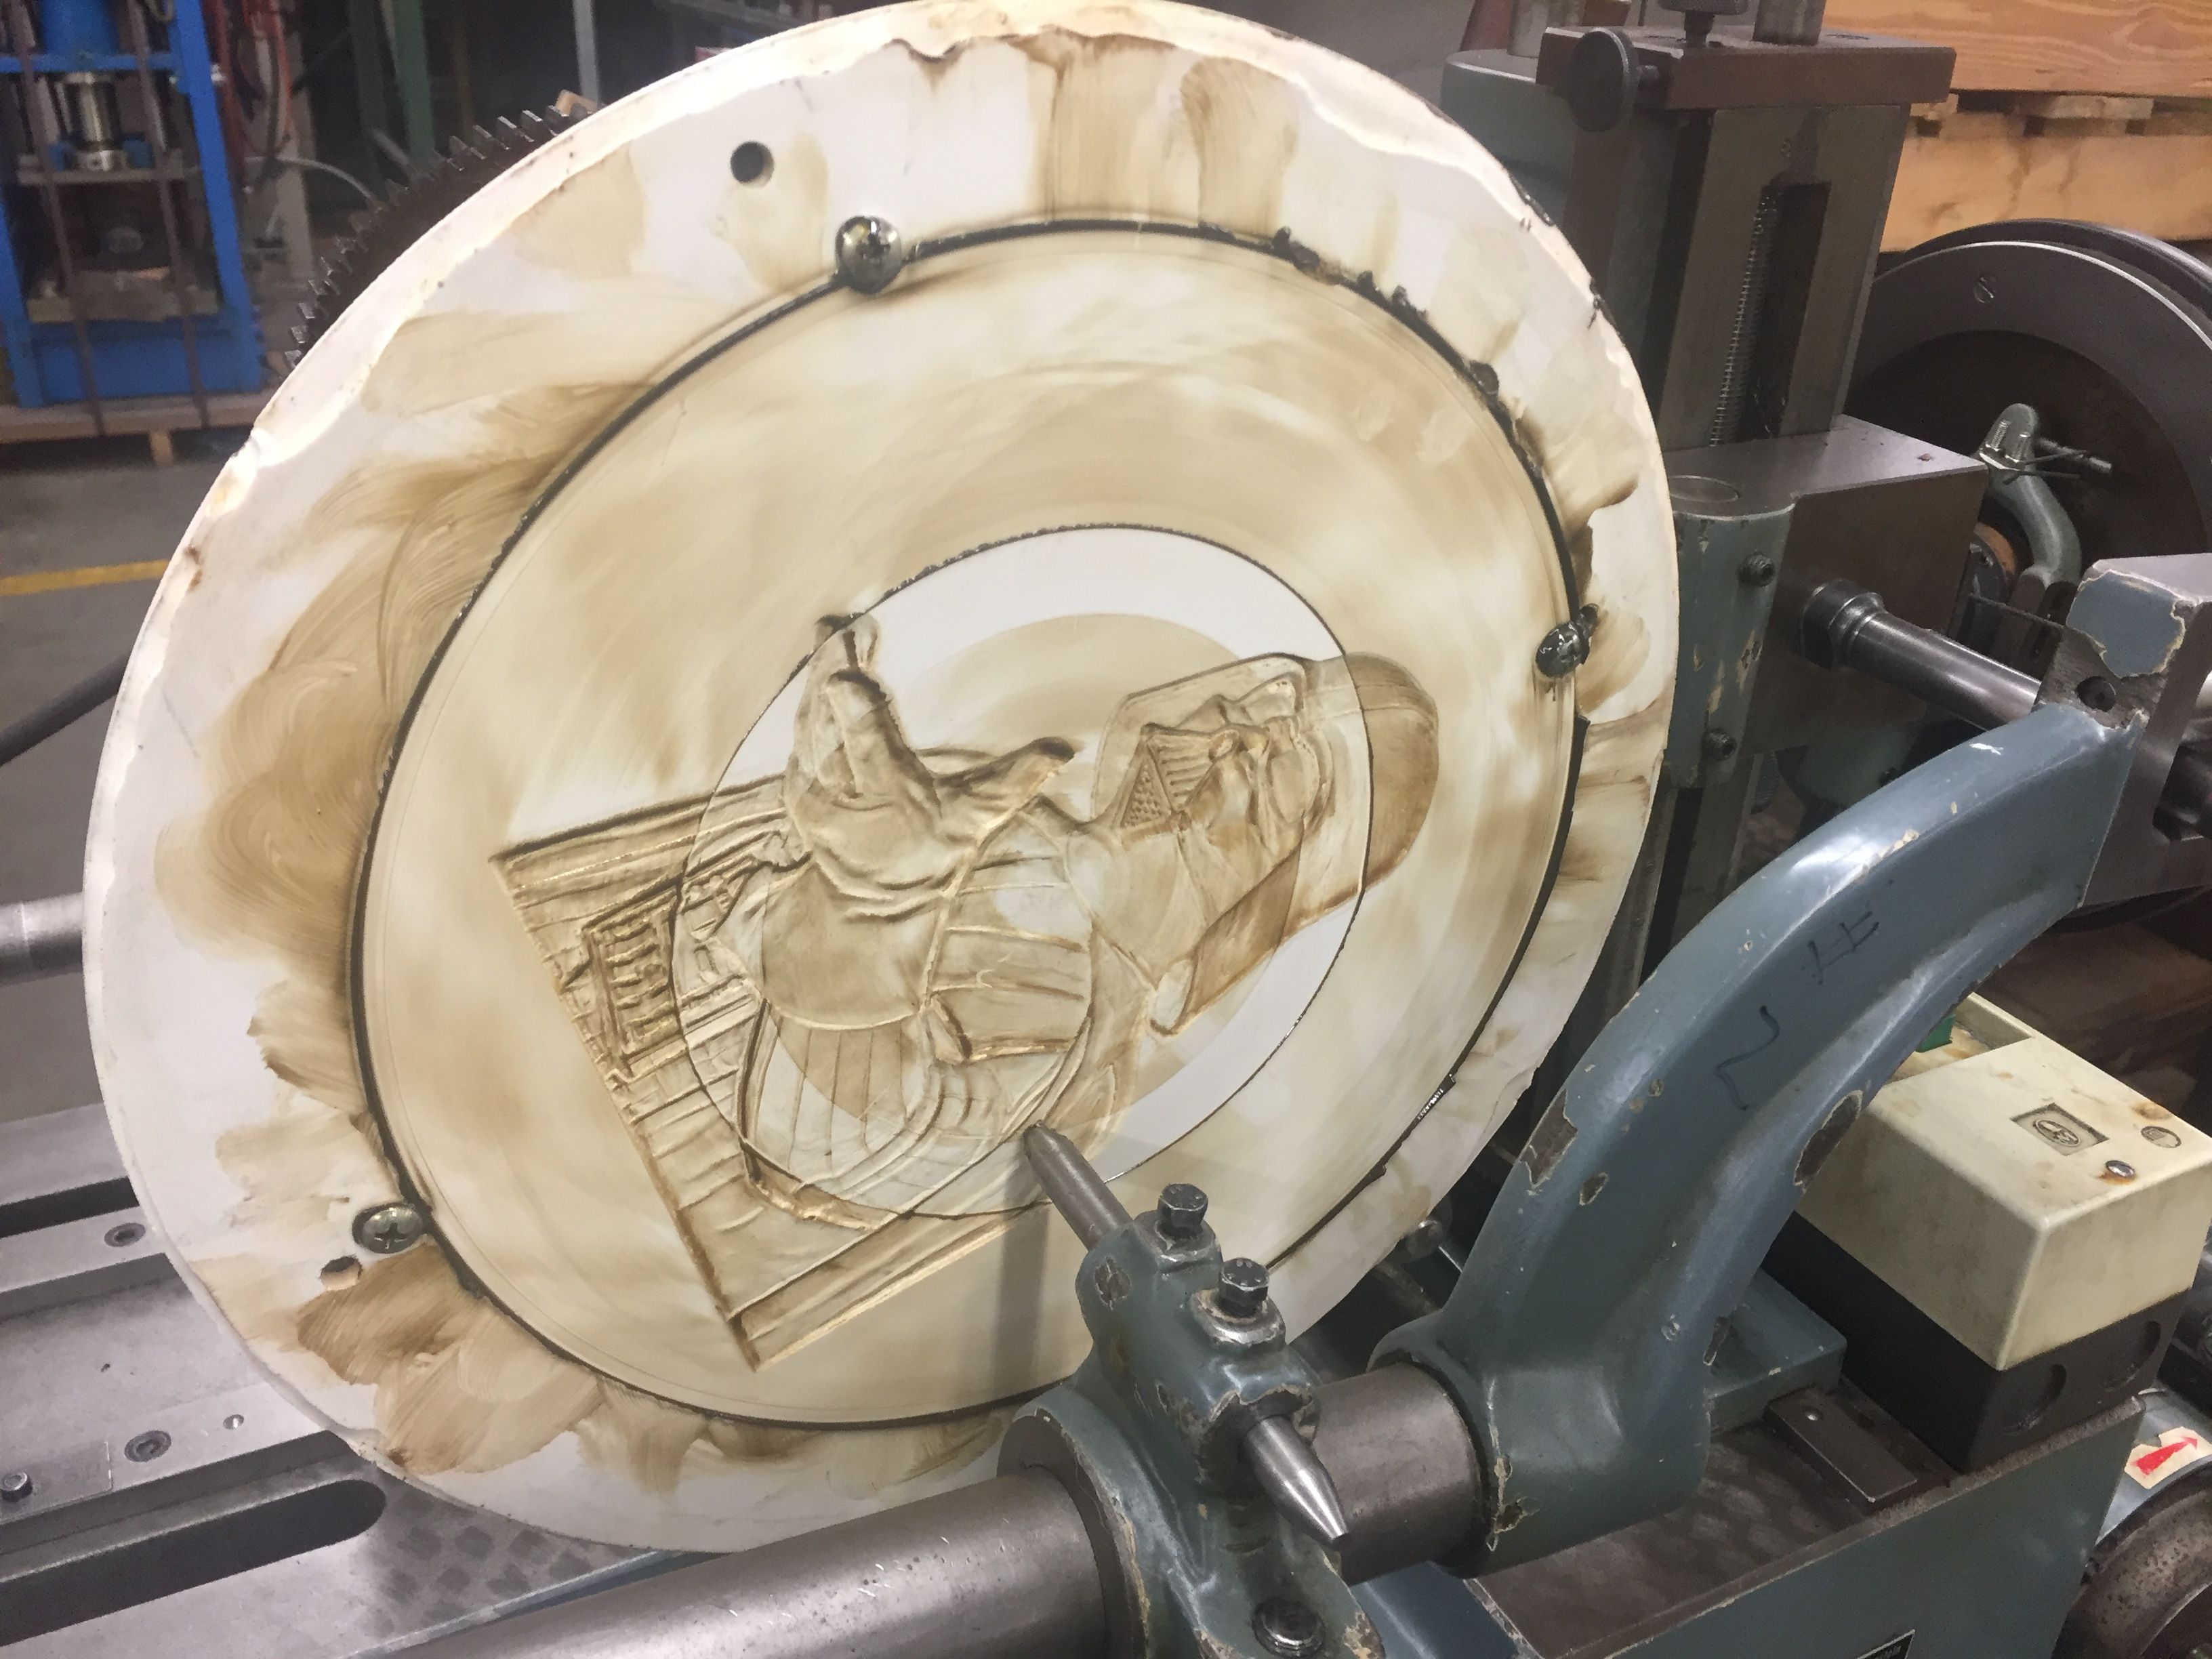
This is the second step and by far the longest step in the entire coin making process. A plaster is carved by hand by a master sculptor. They use what is called a Bas-Relief style of sculpting. I'm no expect, but Merriam-Webster describes it like this;
relief in which the projection from the surrounding surface is slight and no part of the modeled form is undercut
Here's a step by step video from the super amazing Heidi Wastweet who does many amazing sculptures used on coin dies.
Here is also a photo of our plaster molds that were created for our coin dies.

You may notice, that there are slight changes from the original art and that is simply because it is the sculptors interpretation of the art, he has to recreate it and add the relief and textures to the project. They also have a thorough understanding of how the textures and relief will replicate and work on a finished coin.
Our plaster was created by Luigi Badia, the sculpter our minting team works with. You can read a bit more about him in this article HERE.
Step 3- Creating an Epoxy
This step is pretty straight forward, an impression of the plaster mold is taken in a resin epoxy, that will harden much stronger and more durable then the plaster will. This will be then used as the template for the pantograph machine described in this post HERE. You can see an example here from the last post, unfortunately we don't have a photo of our epoxy.
Comments will be approved before showing up.
Sign up to get exclusive insider info about new releases, special offers and more!
Preview our products here.
Click any images to check it out.

The reverse of this coin bears a image of a seductive, tempting Succubus.
The succubus coin is much more than just a cool image of a pretty girl (although it certainly is). The succubus image has a much deeper and metaphorical meaning to us. It represents the struggle against any form of alluring temptation that may be wrapped in a seductive package but could ultimately lead to your demise.
In traditional folklore the succubus was a beautiful seductive demon who would seduce men, once these men were seduced their health would deteriorate and they would ultimately die. It's possible you could relate to a relationship of this nature where a partner was slowly drawing the life out of you, but on an even deeper level we feel the temptation and deteriorating effects can apply to so many aspects of one's life, not only relationships.
We also feel the succubus can serve as a constant reminder to understand the deeper meaning of anything and ensure we are not blinded by it's beauty or allure.
Lastly we also draw great strength knowing we have overcome challenges and temptations in our lives to breed character and form our personalities. This ultimately led us to our first release titled "Temptation of the Succubus"


Sign up to get exclusive insider info about new releases, special offers and more!
© 2025 PM INC.